 How-to
How to Waterproof Shower Tile: Methods That Last
Last Updated: November 13, 2026
Quick Summary
To waterproof shower tile, install a continuous membrane behind the tile on the substrate, since tile, grout and caulk are not waterproof barriers. Choose foam backer board, bonded sheet membrane or liquid-applied membrane, then seal every seam, corner and penetration and flood test the pan before tiling.
- Cement board alone is not waterproof, so a membrane must go on the substrate.
- Liquid membranes need the correct dry film thickness and full cure before tiling.
- The shower floor must slope toward the drain before any membrane goes down.
- Blocked weep holes are one of the most common shower pan failures.
- A flood test involves plugging the drain, filling just below the curb and waiting 24 hours.
Table of Contents
- Why Tile Alone Won't Stop Water
- Choosing a Shower Waterproofing Membrane
- Liquid Membrane Shower Waterproofing, Step by Step
- How to Waterproof a Shower Floor and Pan
- Details That Fail: Niches, Benches, Valves, and Corners
- Flood Testing and Compatibility Checks Before Tile
- Waterproofing an Already Tiled Shower: Repair or Rebuild
- Get Your Shower Waterproofing Handled by One Team
- Frequently Asked Questions
Why Tile Alone Won't Stop Water
Tile is not waterproof. Neither is grout, nor the caulk you keep redoing at the corners.
Green Building Advisor's analysis of tiled shower waterproofing puts it plainly: maintaining caulk cannot be relied on to keep water out.
That distinction matters more than any product choice. A shower built on cement board with no membrane is a shower waiting to fail, even with perfect tile work.
So the real question isn't which tile to pick. If you're already seeing cracks, our guide on how to prevent cracked bathroom tiles covers that side of the problem.
Choosing a Shower Waterproofing Membrane
A waterproof shower tile membrane is the continuous barrier that stops water from reaching framing, drywall, or subfloor. It goes directly under the tile assembly, either bonded to the substrate or applied as a liquid coating. There is no single best membrane for every job.
Here's how the main options compare.
| System | Best For | Watch Out For |
|---|---|---|
| Foam backer board | Fast, beginner-friendly walls | Must seal every seam and screw hole |
| Bonded sheet membrane | Thin, reliable coverage | Overlaps and corners need care |
| Liquid-applied membrane | Odd shapes, niches, benches | Needs correct thickness and cure time |
| Cement board + surface membrane | Solid, familiar substrate | Cement board alone is not waterproof |
Foam Backer Board Systems
Foam backer board is a waterproof panel that takes the place of cement board on shower walls. You cut it, set it with thinset, and seal the seams, corners, and fastener holes with the manufacturer's banding and sealant.
The appeal is speed: a foam board wall goes up fast and stays flat, making tile setting easier. The catch is discipline at the joints.
Bonded Sheet Membranes
A bonded sheet membrane is a thin waterproof sheet rolled onto the substrate with thinset, then tiled directly over. It adds almost no thickness, which helps at drains and valve openings where buildup causes problems.
Getting the overlaps right is the whole job. Sheets must lap in the correct direction so water runs over, not into, the seam. Corners and pipe penetrations get pre-formed pieces.
Liquid Membrane Shower Waterproofing, Step by Step
Liquid membrane shower waterproofing means rolling or brushing a coating onto the substrate until it forms a seamless skin.
Here's the process we'd follow, with the checkpoints that matter at each stage:
- Prep the surface. Wipe off dust and let the substrate dry fully; coating won't bond to a dirty or damp surface. Most manufacturers require a specific moisture range, checked with a pin-type meter or their own test method. Vacuum, then wipe with a damp cloth and let dry.
- Mix per the label. Don't thin the product; thinning breaks the film and voids the warranty. Mix with a low-speed drill and paddle to avoid whipping in air, which creates pinholes. Let it sit for the recommended induction time if the label calls for it.
- Apply the first coat. Brush corners and roll flat areas, working into seams and penetrations. Roll in one direction so you can see the coverage pattern. Check the product data sheet for coverage, since it varies by manufacturer and required dry-film thickness.
- Check coverage. Look for thin spots and pinholes while the coat is wet. Hold a light at a low angle; shadows reveal skips. Watch the wall-to-floor joint and drain flange, where rollers often miss.
- Let it cure. Follow the stated recoat time; cool, humid bathrooms slow drying. The label governs the recoat time. If the coat is still tacky, wait.
- Apply the second coat. Roll at a right angle to the first to cover missed spots. Two coats are the minimum for most systems; some require three at corners and changes of plane.
- Check thickness. Most systems need a minimum dry film thickness set by the product data sheet. A wet-film gauge takes the guesswork out: measure while wet and compare to the data sheet target. A dry-film gauge works after cure but requires a destructive test on a sample coupon.
- Protect the membrane. Cover it before tiling so dropped tools and foot traffic don't puncture it. Builder's paper or a sacrificial board works; tape the edges so it doesn't slide.
Watch out: applying a second coat before the first has cured traps moisture and causes blistering. Set a timer and follow the label.
A checkpoint most DIYers skip is the pinhole test. After the final coat cures, inspect the entire surface under raking light; any visible pinhole or thin spot gets another coat.
How to Waterproof a Shower Floor and Pan
Learning how to waterproof a shower floor comes down to three things: slope, a continuous pan liner or coating, and a drain that lets water escape from the mortar bed. Get any one wrong and the pan holds water instead of shedding it.
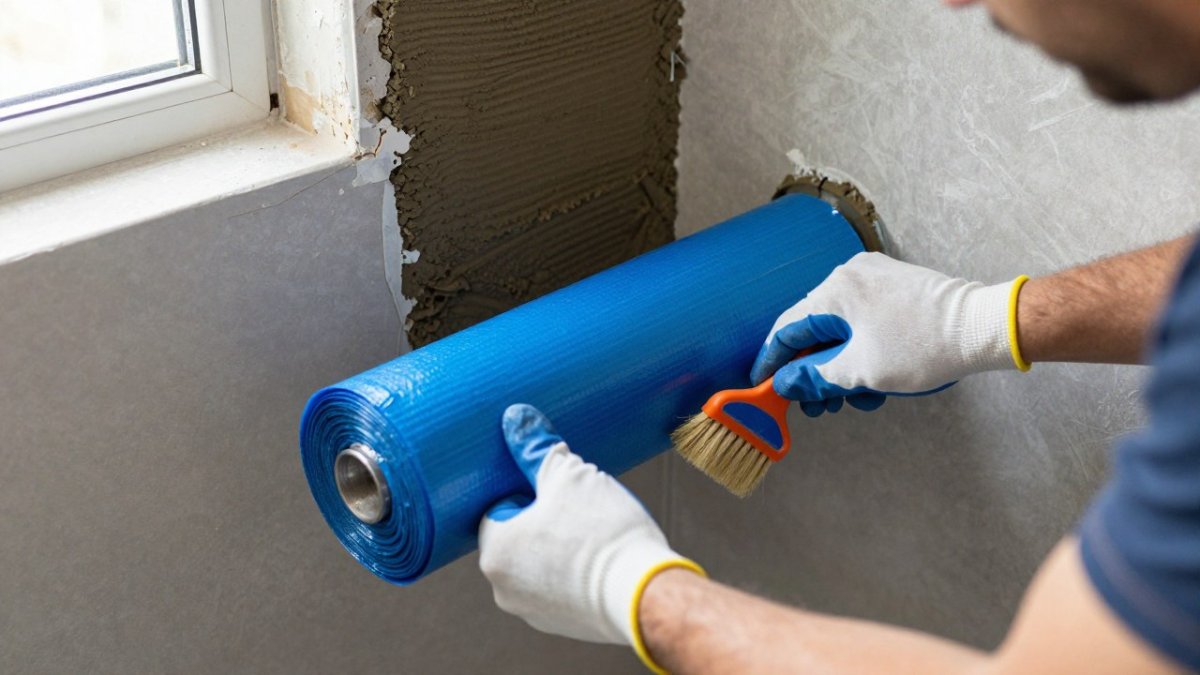
The floor must slope toward the drain before any membrane goes down. A flat pan traps water, and trapped water finds the weakest seam. Pre-sloped foam pans solve this in one step.
Drain, Weep Holes, and Slope
The drain assembly is where most shower leaks begin. In a traditional pan, weep holes at the drain base let water that reaches the mortar bed drain away.
Watch out: blocking the weep holes with thinset or mortar is one of the most common pan failures we see.
With surface-applied membranes, the drain gets a bonding flange and the membrane ties directly into it. Either way, the drain and membrane must be from a compatible system.
Details That Fail: Niches, Benches, Valves, and Corners
Waterproofing details at niches, benches, valves, and pipe penetrations are where showers leak. Flat walls are easy. Every corner, cutout, and transition is a chance for a gap.
- Corners: use pre-formed inside and outside corners, or reinforce liquid membrane with mesh tape.
- Niches: use a waterproof niche insert or coat the framed box fully, including the back corners.
- Benches: cover the seat, the front face, and the joint where it meets the wall as one continuous surface.
A common mistake is treating these spots as trim work. They're the load-bearing parts of the waterproofing.
Flood Testing and Compatibility Checks Before Tile
A flood test is the only way to know the pan holds water before you cover it with tile. It's also the step most often skipped under schedule pressure, and skipping it is how a slow leak gets buried under a finished shower.
How to Flood Test a Shower Pan
- Let the membrane cure fully. Liquid membranes and sheet membrane adhesives require a full cure before water exposure; check the data sheet for the required time. Check the data sheet; testing too soon can damage a membrane that would otherwise pass.
- Plug the drain. Use a test plug sized to the drain opening, or an inflatable plug if the drain has no threads. The plug must seal against the drain body, not the strainer, and hold under the weight of the water.
- Fill to just below the curb. Mark the water level on the wall or on tape at the curb. Fill to a depth that covers the entire pan and the wall-to-floor joint without spilling over the curb.
- Wait 24 hours. Check the level at the mark. Use a reference container of water beside the shower to account for evaporation. If the reference container also drops, evaporation is the cause; if only the pan drops, the pan leaks.
- Inspect the underside if accessible. If the ceiling below is open or you have crawl space access, look for moisture or staining during the test. A pan can lose water slowly enough that the level drop is ambiguous but the framing below tells the story.
Watch out: a failed flood test is not a reason to add another coat and retest blindly. Find the leak first. Common failure points are the drain flange connection, the wall-to-floor joint, and the corners. Repair the specific area, let it cure, and retest. Repeatedly coating the whole pan without diagnosing the leak can build thickness that interferes with drain height and tile setting.
What a Failed Test Looks Like
A failed test shows up in three ways: a measurable drop in water level, visible moisture on the substrate below or adjacent, or a soft or darkened area at the curb or drain. If the level drops but the pan surface looks intact, the leak is likely at a penetration or seam. If the curb is wet on the outside face, the membrane may not be lapped correctly over the curb. If the drain area is wet below, the flange connection is the suspect.
Compatibility Checks Before You Start
Compatibility deserves the same attention as the flood test. Membranes, drains, thinset, and substrates have to work as a system. Modified thinset over a sheet membrane may cure too slowly and lose bond.
Check these before you open a bucket:
- The membrane and drain are approved to work together, per the manufacturer's literature
- The thinset is the type the membrane maker specifies (modified vs. unmodified matters)
- The substrate is dry, flat, and rated for wet areas
Manufacturer instructions and warranty terms usually require this; skip it and a failure may not be covered. A common pattern in failure investigations is a system assembled from parts that each met a standard but were never tested together.
Waterproofing an Already Tiled Shower: Repair or Rebuild
Waterproofing an already tiled shower is rarely a simple patch. If water has gotten behind the tile, the membrane is already compromised, and sealing the surface won't fix it.
Signs it's time to stop patching:
- Loose or hollow-sounding tiles
- Efflorescence or white crust on grout
- Soft drywall or framing near the shower
If you suspect hidden moisture, our guide on how to detect hidden water leaks in walls walks through meter tests and moisture readings before you commit to a rebuild. In an older home, preventing water damage in older homes covers the wider plumbing and leak issues that often show up alongside a failed shower.
Repair makes sense for a single failed seal at a valve or a cracked grout line with no soft substrate. Rebuild is the honest answer once the membrane is breached and framing is wet.
Get Your Shower Waterproofing Handled by One Team
The hard part of shower waterproofing isn't the product.
That's the problem Lone Eagle Home Services is built for. We're a membership-based home maintenance team for Morris County homeowners, with flat-rate pricing, confirmed appointments, and uniformed technicians backed by real systems.
If you're weighing DIY against hiring out, read when to call a professional for home repairs first. Then see the home maintenance plans we offer and get your shower waterproofing handled by one accountable team.
Shower waterproofing fails quietly, and by the time you see the damage, the repair is bigger than it needed to be.
Frequently Asked Questions
What is the best waterproofing option for tile showers?
There is no single best option. Foam backer board suits beginners because panels are lightweight and seams seal with manufacturer tape. Bonded sheet membranes give consistent factory-controlled thickness. Liquid membranes work well on complex shapes but need multiple coats at the right wet thickness. Match the method to your skill level, drying time, and budget, and follow one manufacturer's system end to end.
How do you waterproof a shower floor before tiling?
Build a sloped mortar bed toward the drain, then install a waterproof shower pan membrane or a surface-applied system over it. Wrap the membrane up the walls at least a few inches, clamp the drain assembly so weep holes stay open, and protect weep holes with pea gravel before packing mortar. Cure per the manufacturer's instructions, then flood test the pan for 24 hours with a marked water line. Any drop in the water level means a leak to fix before tile goes down.
Is a sheet membrane or liquid membrane better for a tile shower?
Sheet membranes give uniform thickness and faster coverage on flat walls, which reduces the risk of thin spots. Liquid membranes are easier around niches, benches, and pipe penetrations because you can brush them into odd shapes, but they require several coats at the specified wet thickness and full curing between coats. For a shower waterproofing membrane, many pros use sheet on walls and liquid on details. Whichever you pick, stay within one system so the drain, corners, and thinset are all compatible.
Can you waterproof an already tiled shower without tearing it out?
Sometimes. If the leak traces to failed caulk or grout at corners and the substrate is sound, resealing with a suitable sealant can stop minor water intrusion. Tile is not waterproof, and caulk maintenance cannot be relied on to keep water out, so a shower that leaks behind the tile usually needs the waterproofing layer rebuilt. A pro can diagnose the source first, then tell you whether a targeted repair will hold or a rebuild is the honest answer.